Prequel
In a blog post in 2020 I had experimented with adding full-blown DSLR lenses to a Raspberry PI camera. Although the pictures where pretty impressive, the whole setup was not very portable. I always needed to carry around the Raspberry, the lens and mount, as well as a laptop to take pictures. And as Chase Jarvis once said: The best camera is the one that’s with you. So I sought after a more portable solution and had the idea of mounting the lens to a smartphone camera instead.
There have been attempts of lens-mounted-phones in the past, like the 12S Ultra with Leica M Mount or the Sony Alpha QX1 but they never gained any traction.
Necessary hardware
Phone
As the victim-phone I decided for a LG Nexus 5X I still had on my stash. It was released in 2016 and I had used it for some years as my main smartphone. The phone has a single, 12.2 MP camera placed in the center of the back. The sensor size is 1/2.3" and the position is perfect to attach a full-blown camera lens.
Lenses
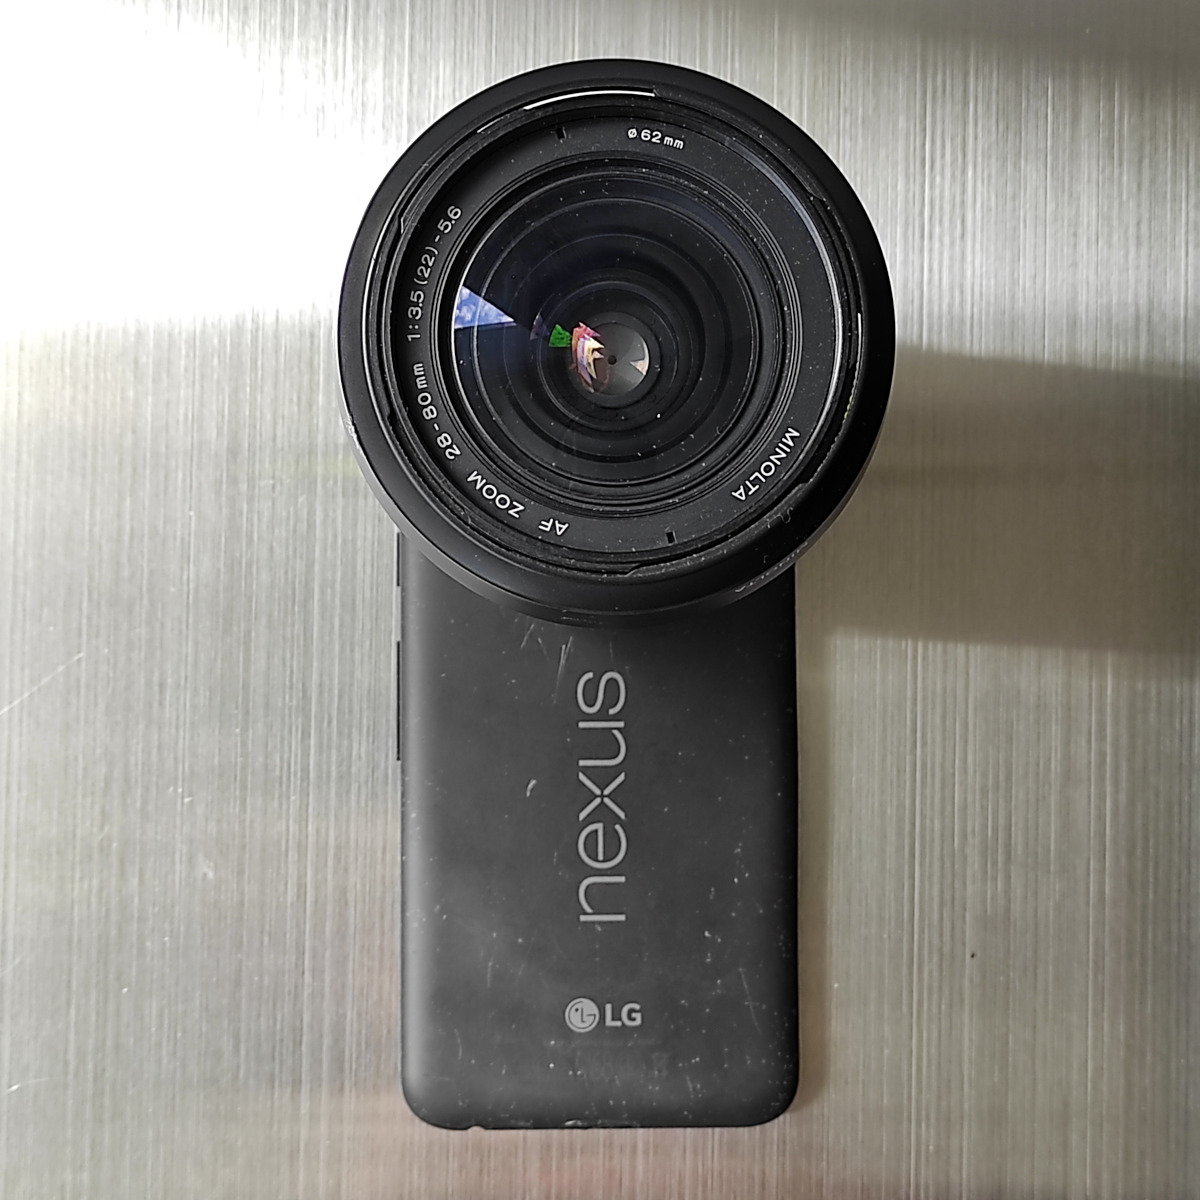
For the lens I decided to go with the Sony AF-mount again, since I had two compatible lenses in my stash. One is a standard 28-80mm, the other a 75-300mm tele lens. Since the sensor is much smaller than the original DSLR sensor, it crops in by about 5.6 times. The equivalent focal lengths are 158-451mm for the standard and 423-1700mm for the tele lens. That means that the tele lens is pretty much unusable and the standard lens becomes a tele itself.
In theory both lenses support auto-focus, but of course I cannot make that work with the phone. While the original smartphone camera has active image stabilization, it had to be removed to make the lenses work.
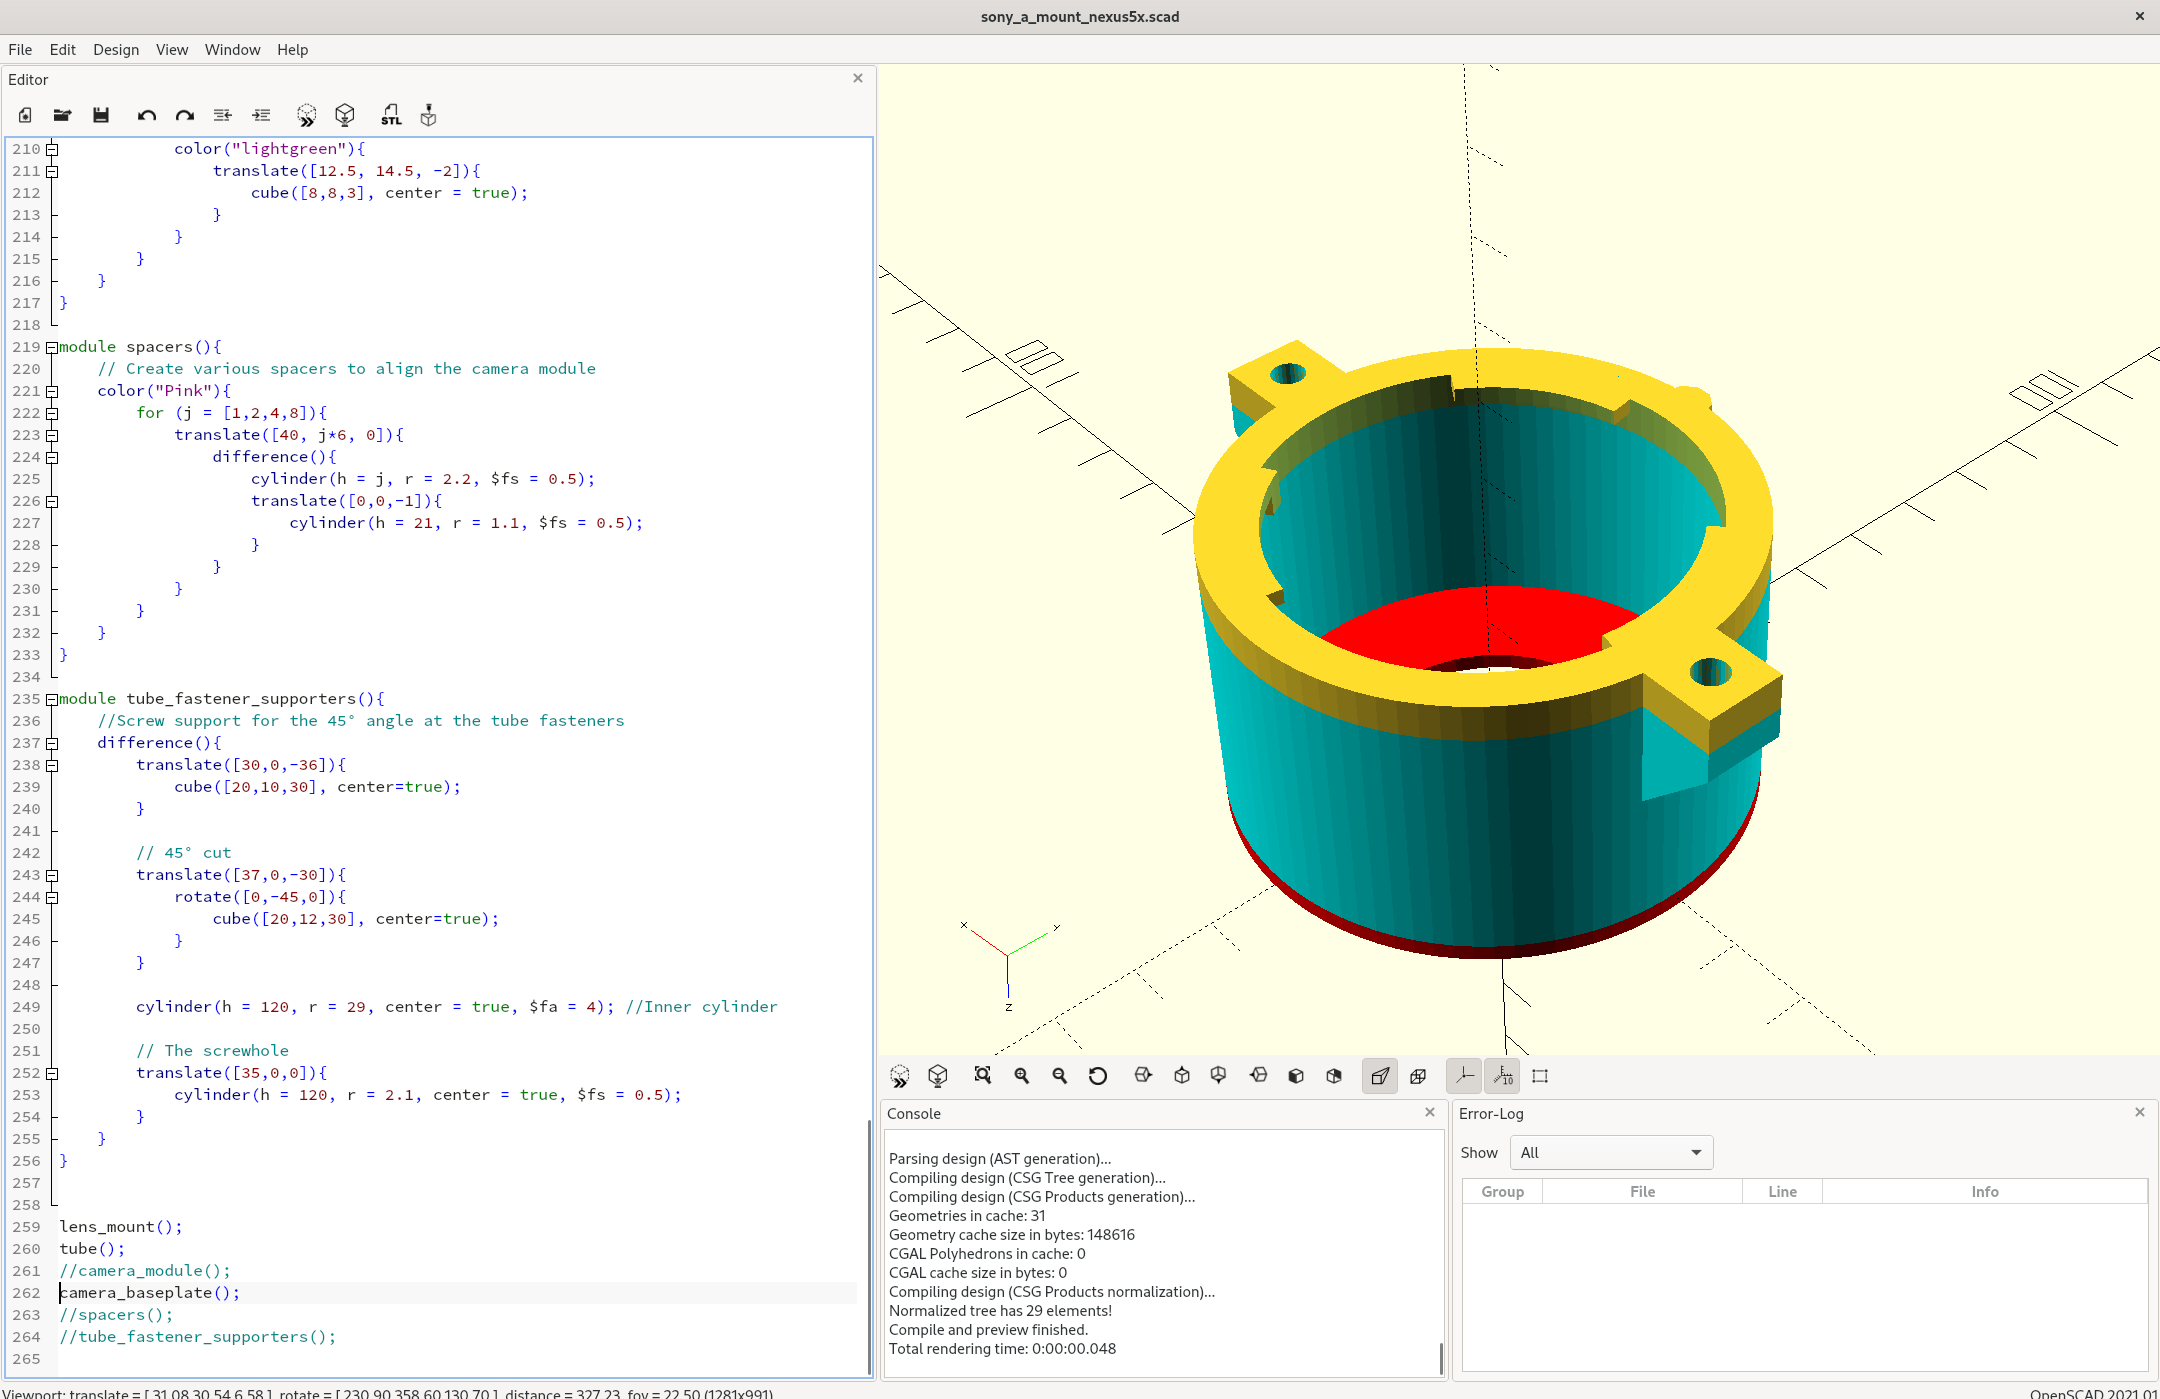
All 3D-printed parts were made with OpenSCAD and printed in PLA on an Ender 3 Pro. For the lens mount I was able to recycle files from the Raspberry Pi camera project.
Building
To realize my idea, a friend and I meet at AFRA Berlin one night and started blasting.
Disassembly
First, we had to disassemble the smartphone to get at the camera module. Luckily, the Nexus 5X was produced before every component was glued together. The disassembly process is pretty easy and only requires to remove the snap-on back cover and remove some screws to get the support frame loose. After that, the camera module can be accessed. As usual, ifixit has an easy to follow guide for that.
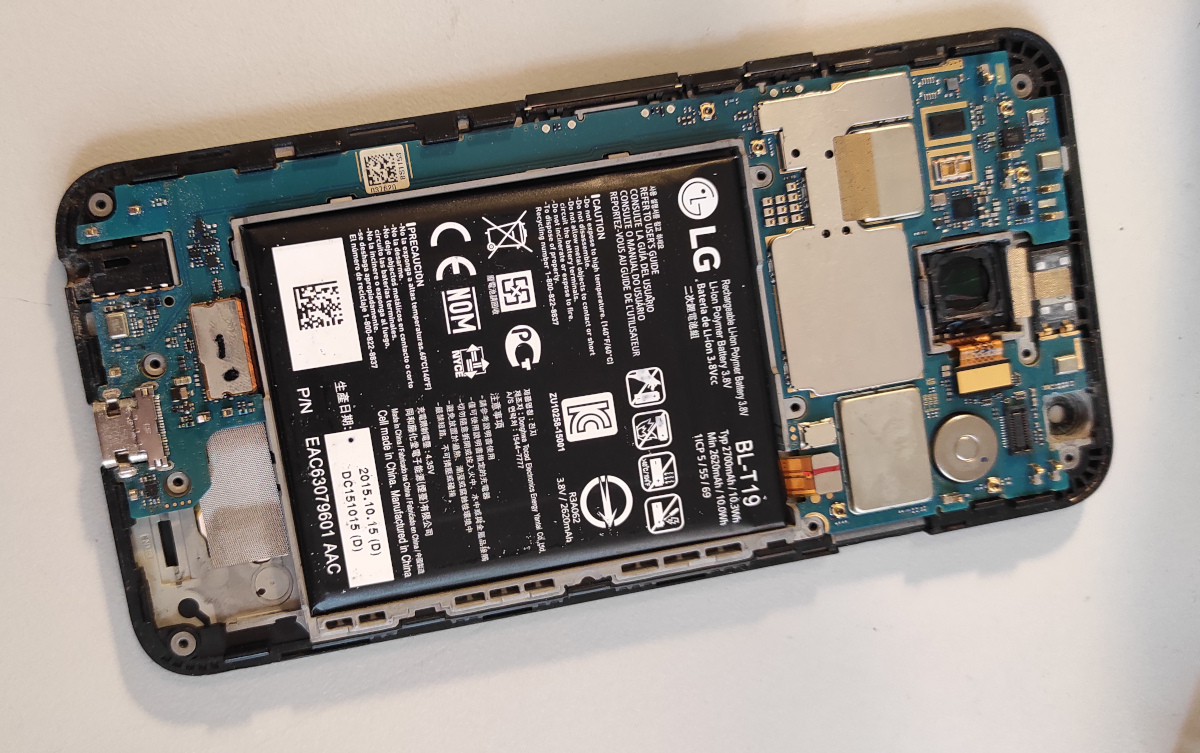
Removing the original lens
The original camera module is integrated, so that the sensor and lens, as well as the AF motor, are one component. To use a different lens, we had to get rid of the original one. For the Raspberry Pi camera it is relatively easy to remove the lens, since it is only screwed in. The Nexus' camera is much more complex though, and the entire module was encapsulated into a metal case.
After trying to melt the glue with a hot air gun we decided to pry open the metal case. Unfortunately we cracked the sensor’s IR filter in the progress, which impacts the results further down the road. With a small diagonal cutter we removed the metal case and the original lens and AF motor with it. Since the lens and sensor are electrically connected I was afraid that the camera would report an error without the lens. Fortunately, the module does not care about the AF motor being removed.
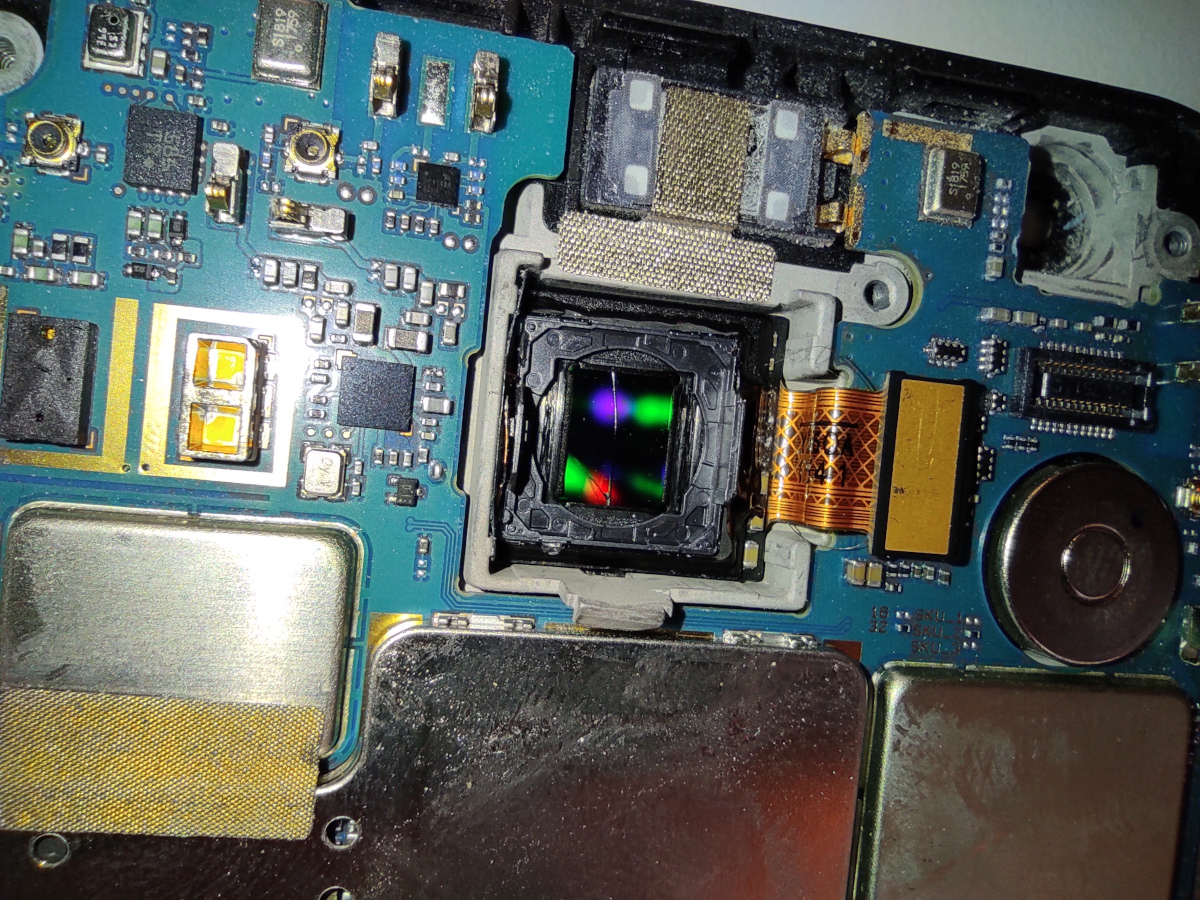
Instead of the IR-filter, we could also have cracked the sensor itself. This would have meant game-over. With sufficient caution, I am sure that it is possible to remove the lens without cracking the filter.
Does it still work?
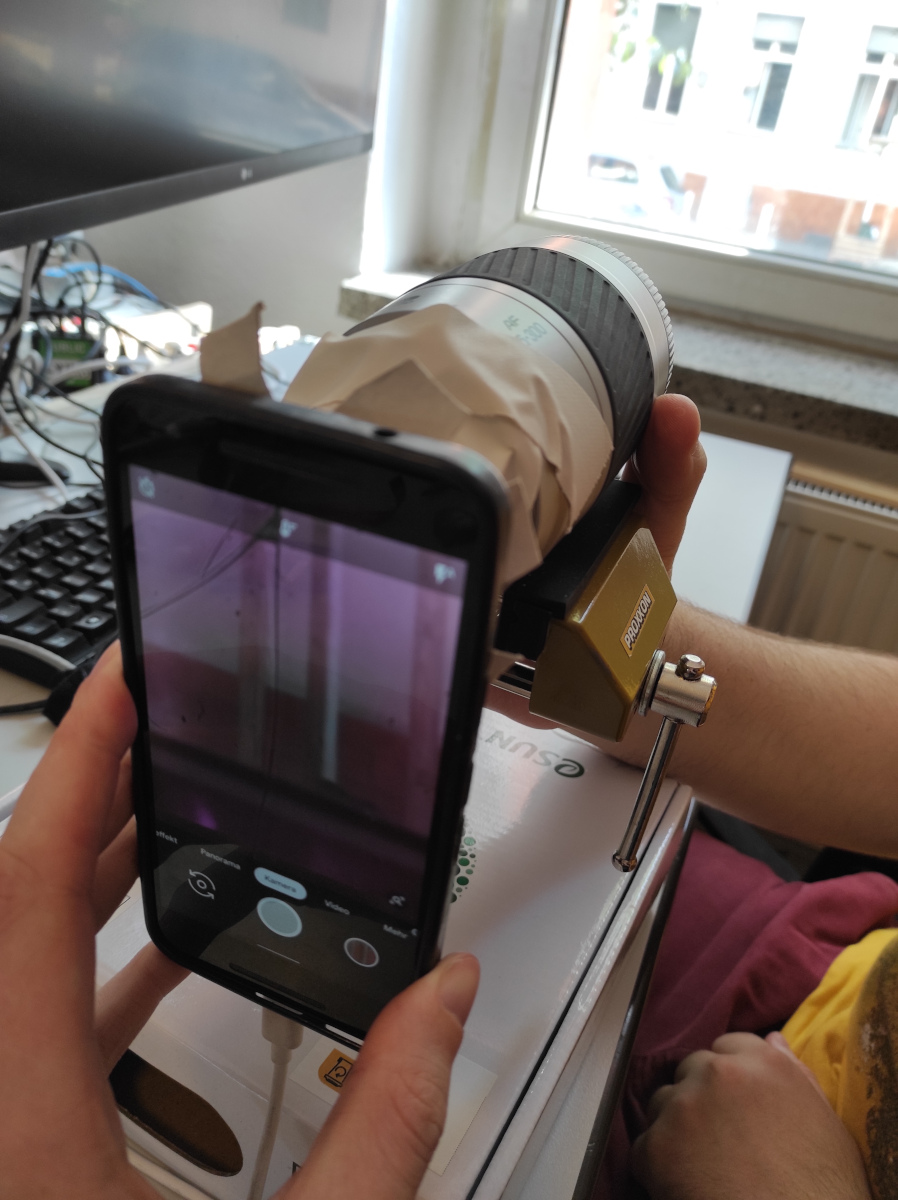
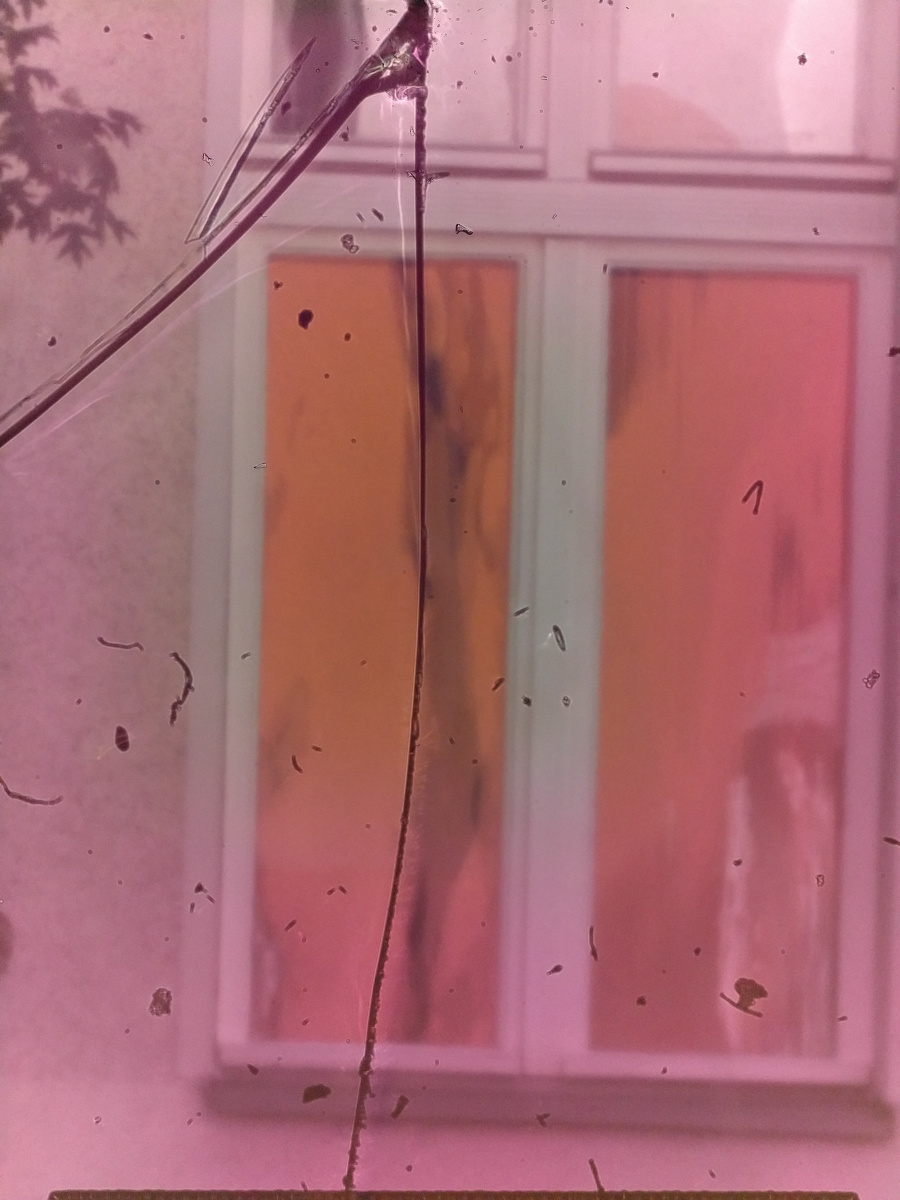
Before building the lens adapter we had to make sure, that the camera module still worked. This ended up in a pretty crude solution out of toilet paper rolls and duck tape. Finally, we were able to take our first blurry image.
Creating the lens adapter
To adapt the lens to the smartphone back, our plan was to glue the lens mount to the original back case. For the lens to work, the flange focal distance between the surface of the sensor and the lens mount has to be correct. For Sony AF, this distance is 44.5mm. We could only estimate the distance of the sensor to the original case back, so we decided to build a two-part adapter. This way, we can vary the distance by swapping one part, without removing the glued-on bit.
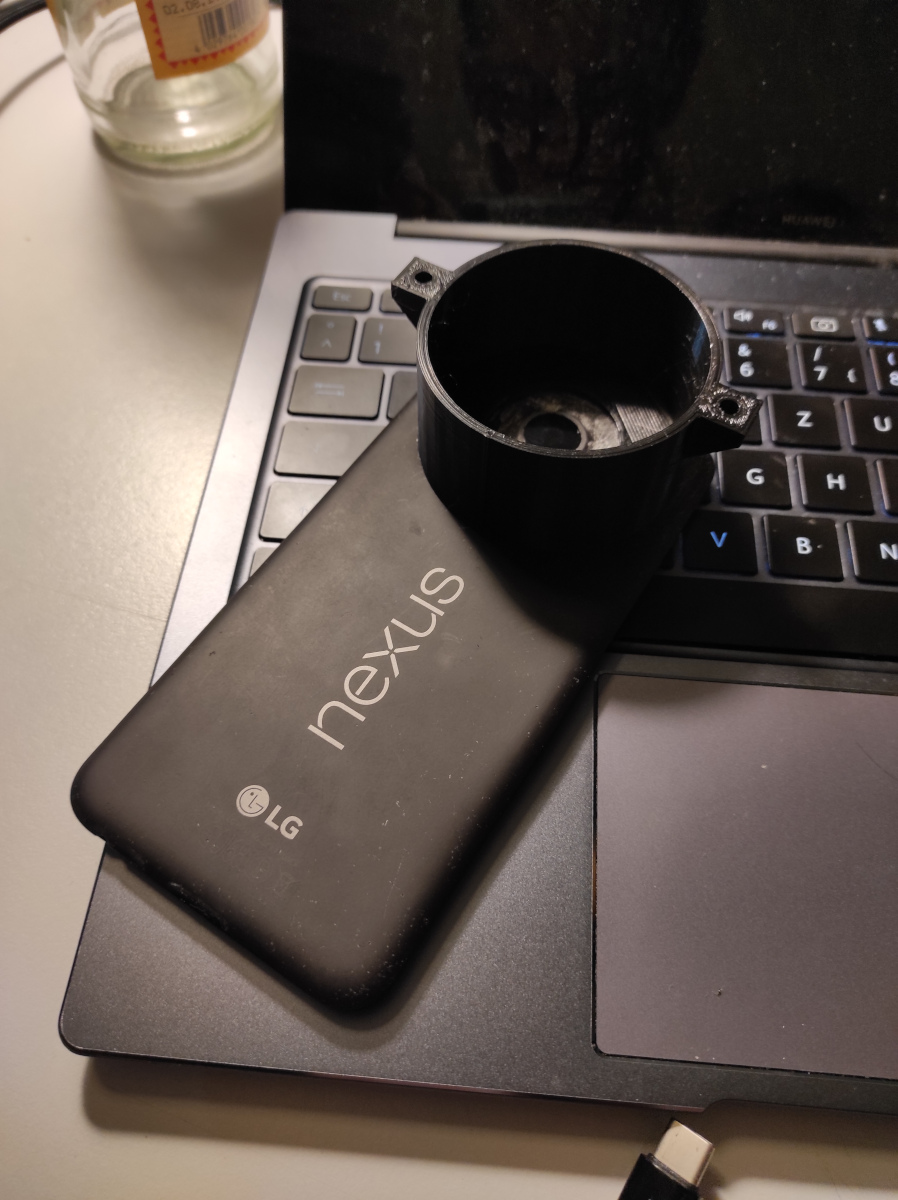
The adapter was printed on the Ender 3 Pro and mounted to the phone. With the adapter and lens mounted, the phone is very top heavy.
Final pictures
Since we creacked the original IR filter, I purchased another camera module on Ebay for 12€. This time, we removed the autofocus assembly more carefully and the filter remained intact. We also had to re-print the lens mount to shring the focal distance a little.
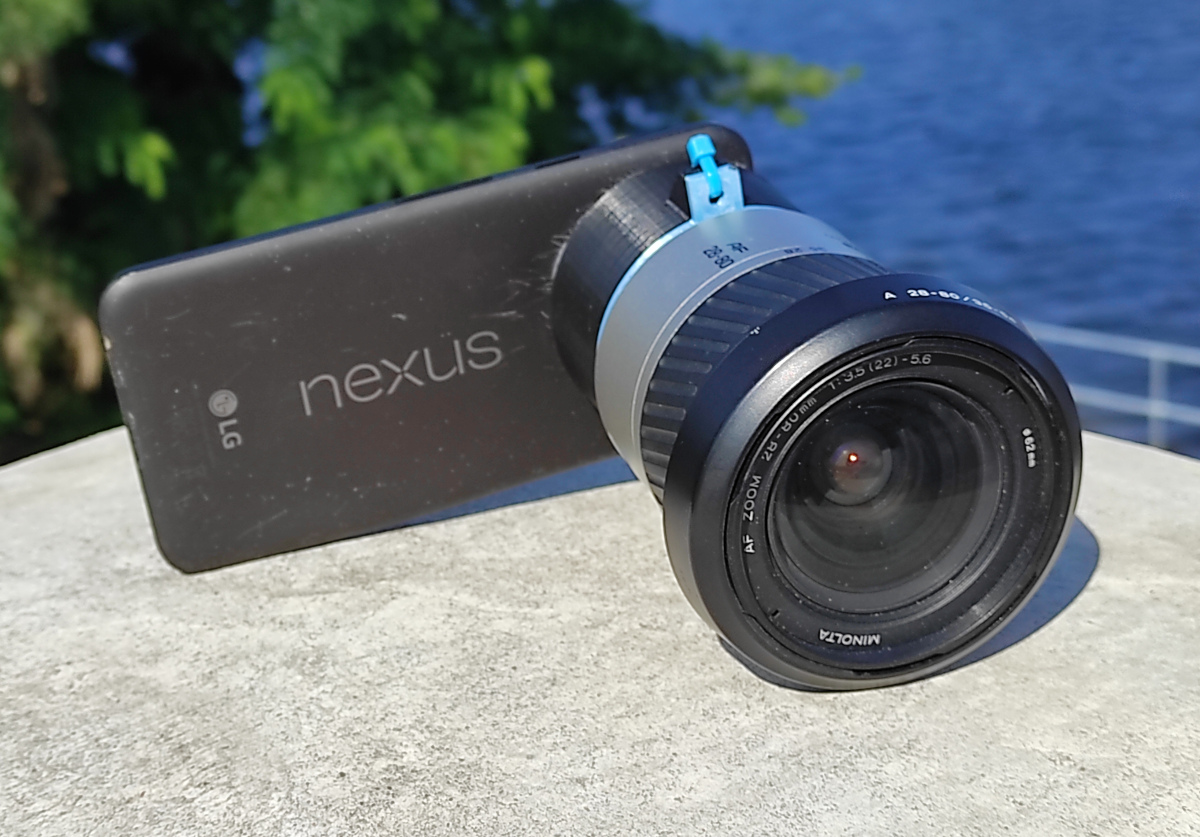
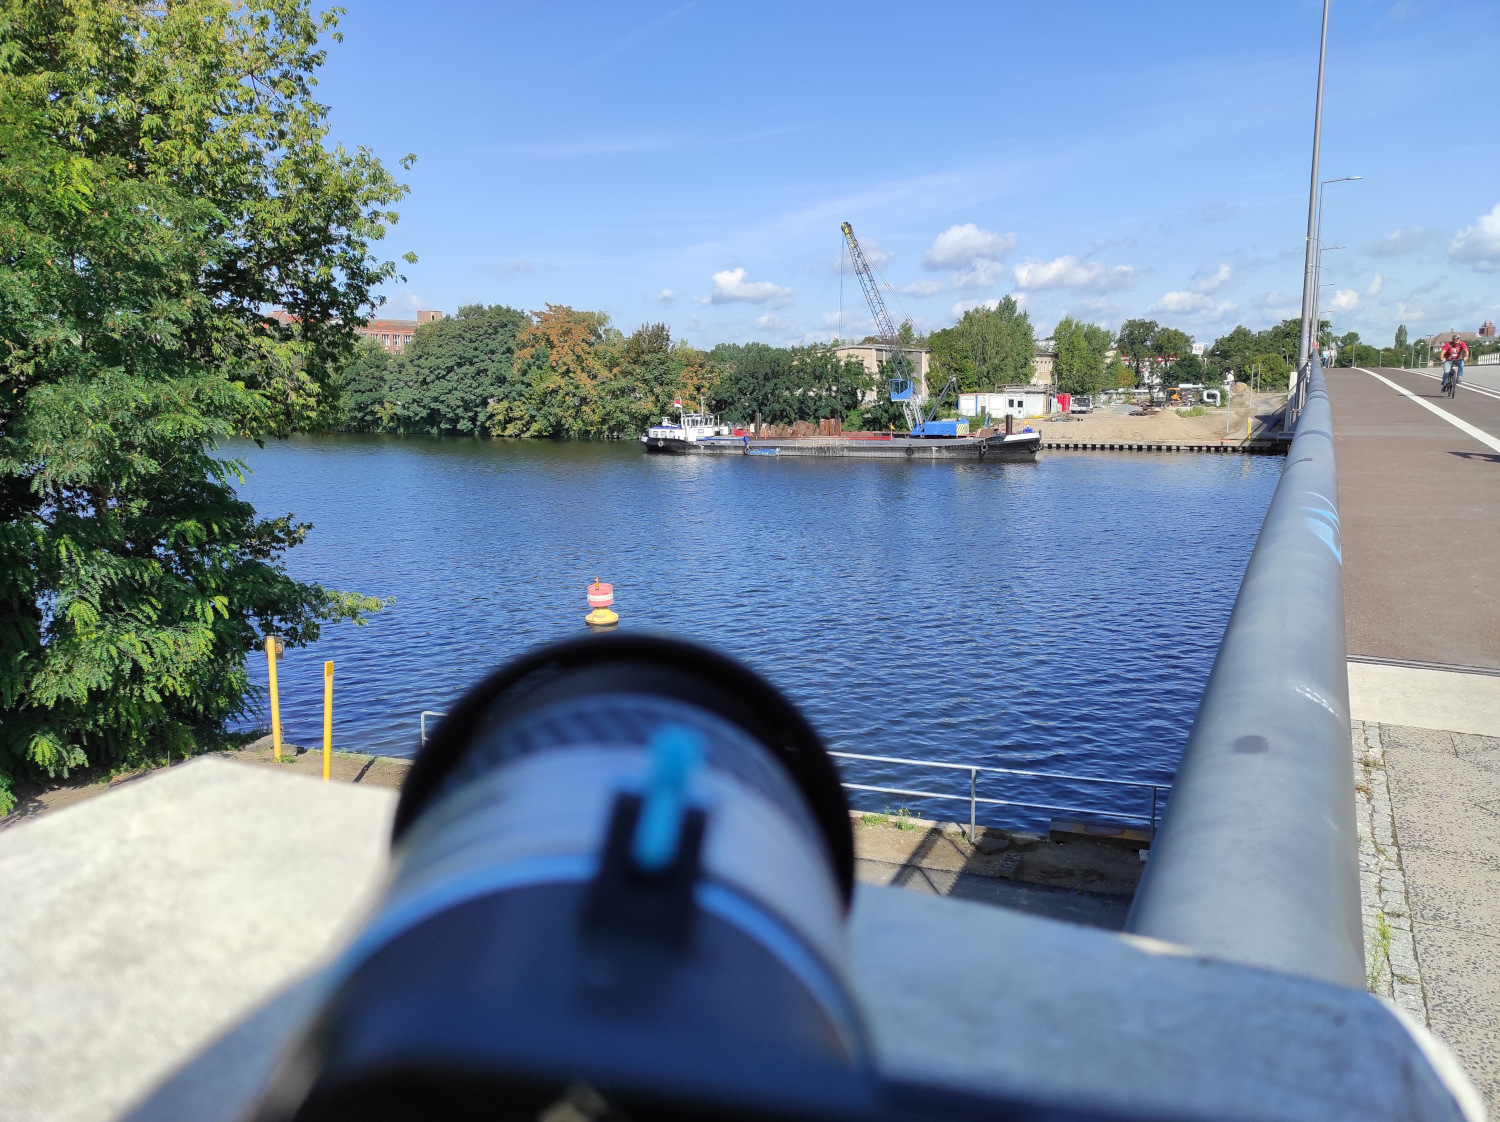
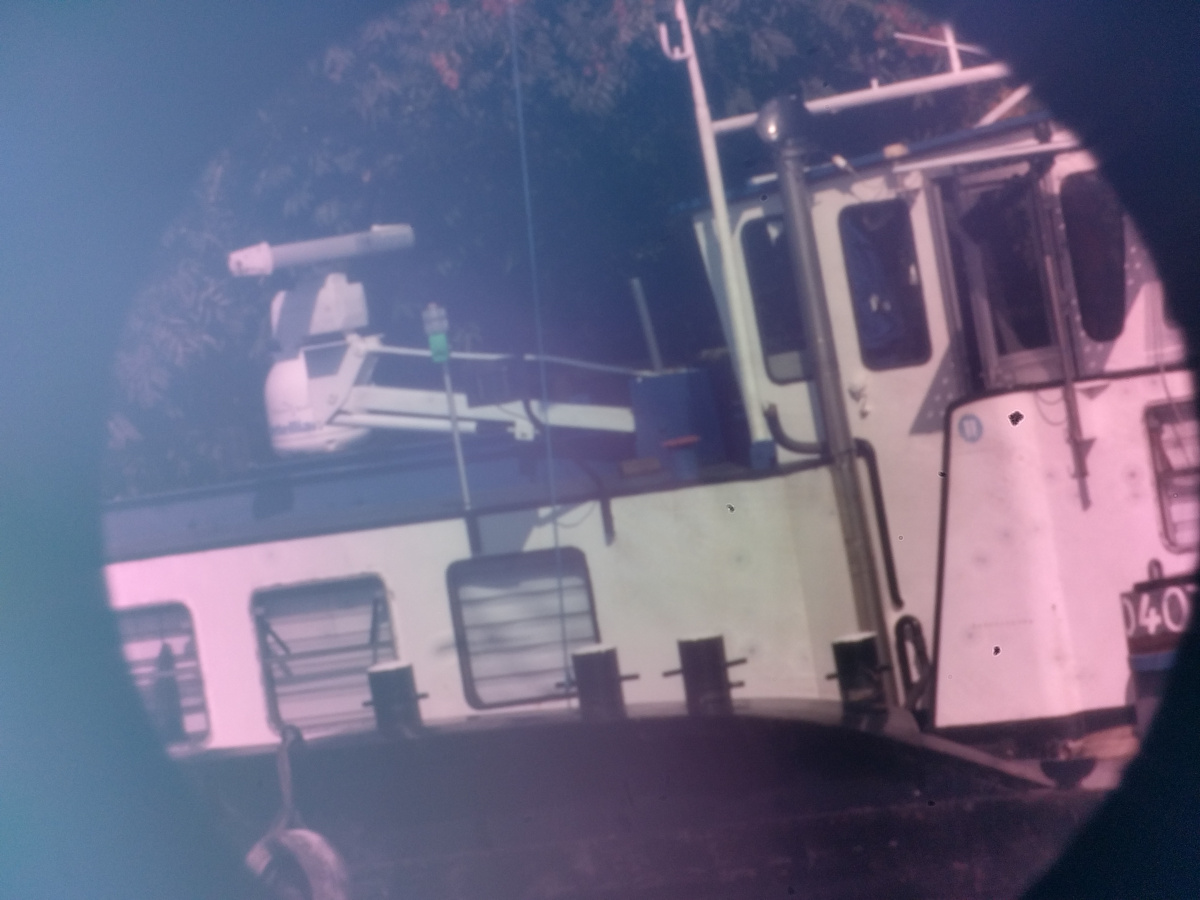
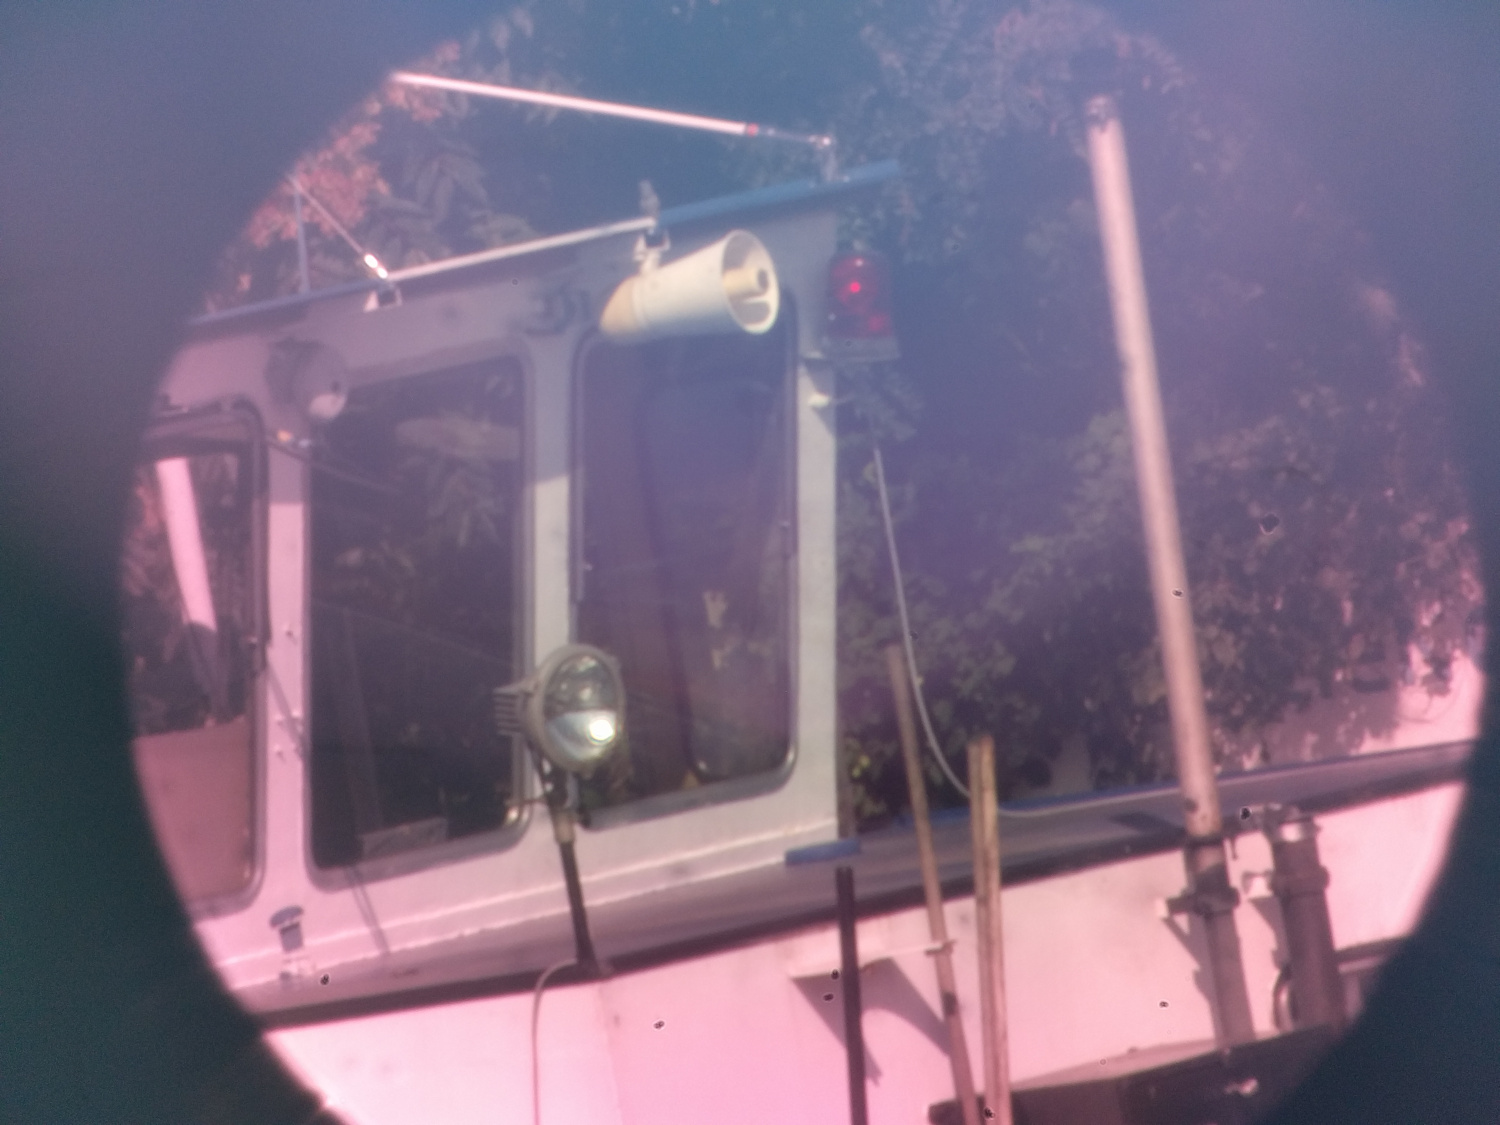
To test the camera performance, I took pictures of a boat across the river Spree. The first picture shows the scene, as viewed from my smartphone camera. The follow shots show the same boat with the 55mm and 300mm lens. Unfortunatly it is nearly impossible to hold still and focus, because every little move of the camera shakes the entire image. For the next iteration I’d print a lens-mount that holds the phone more steadily.